
After creating a new vault or loan, you must register the details of your multisig wallet with your BitBox before you can sign transactions. This means importing information about how the multisig wallet was constructed so that the Bitbox has context for what it may be asked to sign.
What you’ll need:
- A PC or Mac signed in to your Unchained account
- Your Bitbox device
- A live vault or loan created using a BitBox key
How to register your Bitbox:
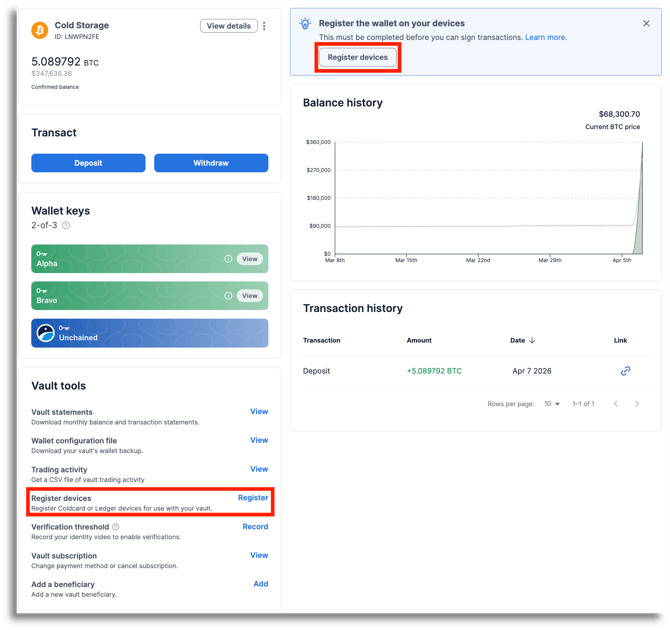
- Vaults: Click Register devices from the Vault tools section or the banner at the top of your screen.
Loans: Click Register devices from the loan page menu.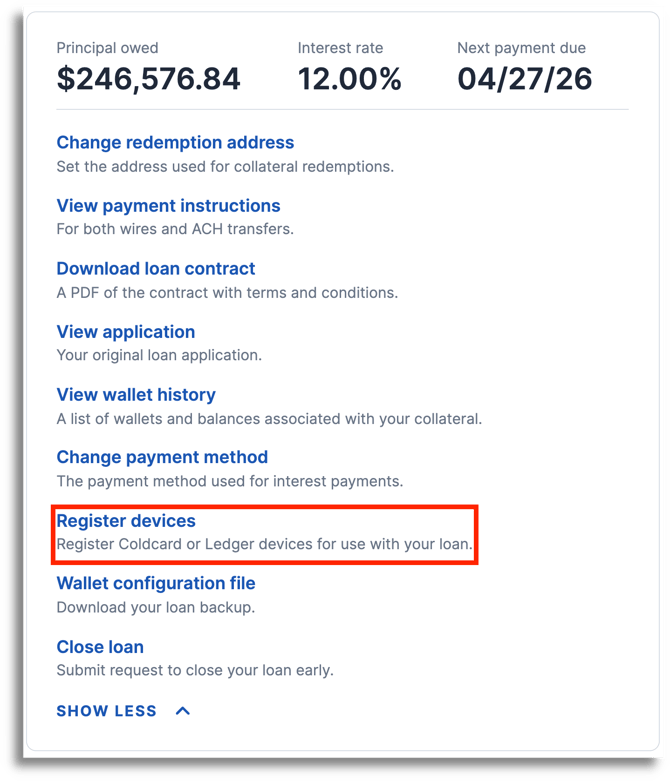
- Select BitBox and click Next.
- Plug in and tap the bottom of your BitBox.
- Click Next in your Unchained account to enter your password on your BitBox.
- Follow the steps on your BitBox to finish registering. All the detailed information presented on the BitBox is displayed on your computer screen for you to compare and verify.
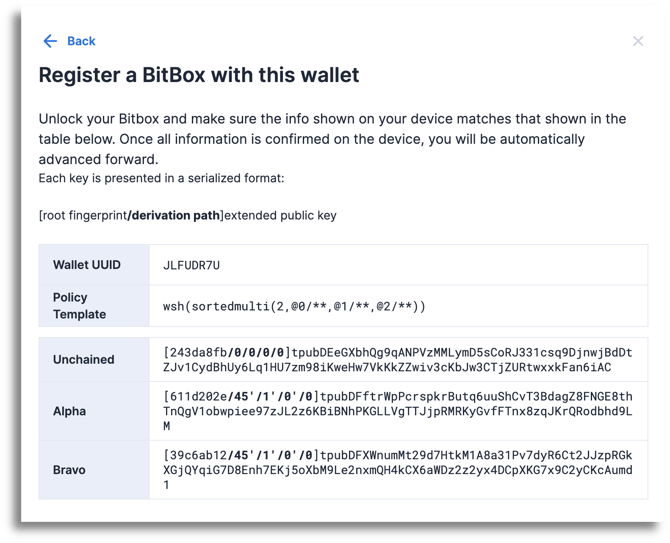
- Enter a name for this vault on your BitBox.
- Continue tapping the arrow until registration is complete.
- That’s it! Your BitBox is now ready to use.