
Caution: Unchained staff will never ask for your account password, 2FA code, hardware wallet PIN, or seed phrase. We will never ask you to send bitcoin to an unsolicited address.
We may ask for your email address, phone number, support PIN, or other information to verify your identity.
What you'll need
To sign a transaction from your Unchained vault, you'll need the following:
- Your BitBox hardware wallet that is registered with the vault.
- Optional: Your BitBox cable.
- A PC or Mac with USB ports to connect your hardware wallet
To sign a transaction using your BitBox:
- Create a withdrawal or sell transaction.
- Can't find your transaction? Navigate to the vault you want to withdraw from and click View transaction.
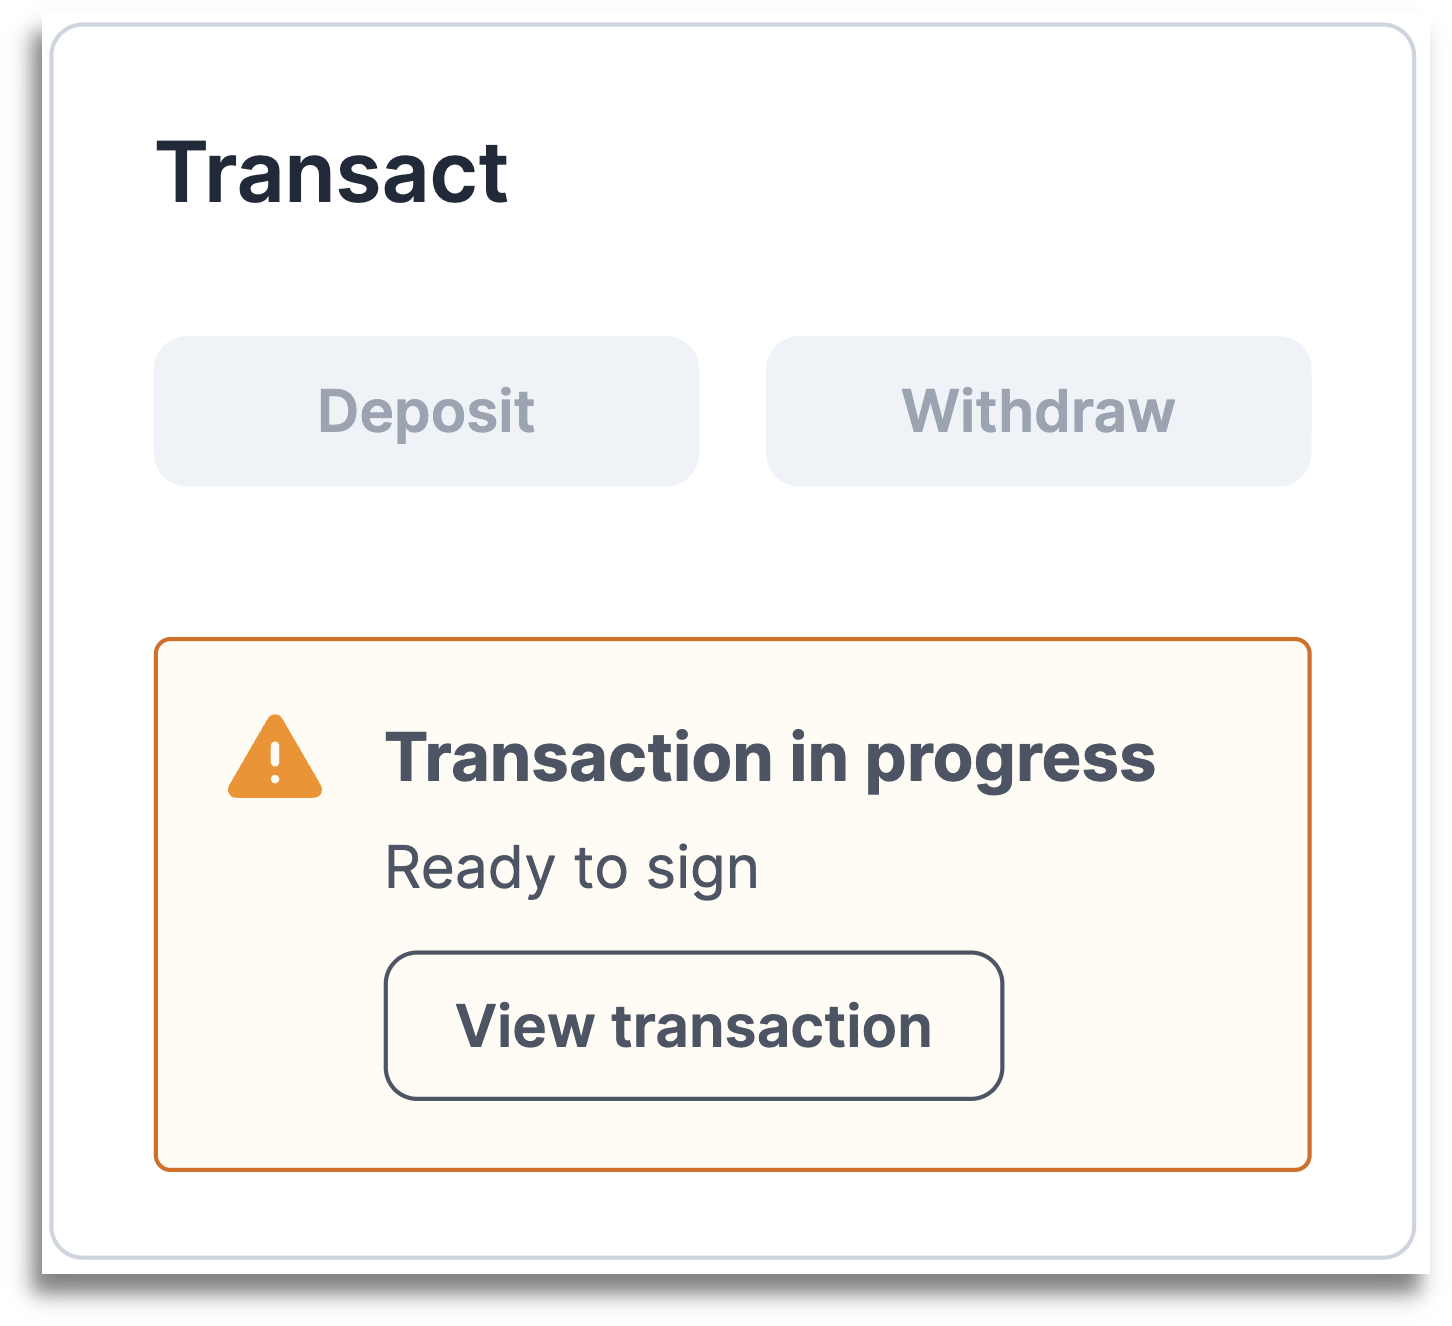
- Click Sign next to the key you want to sign with.
- Choose BitBox as your hardware wallet.
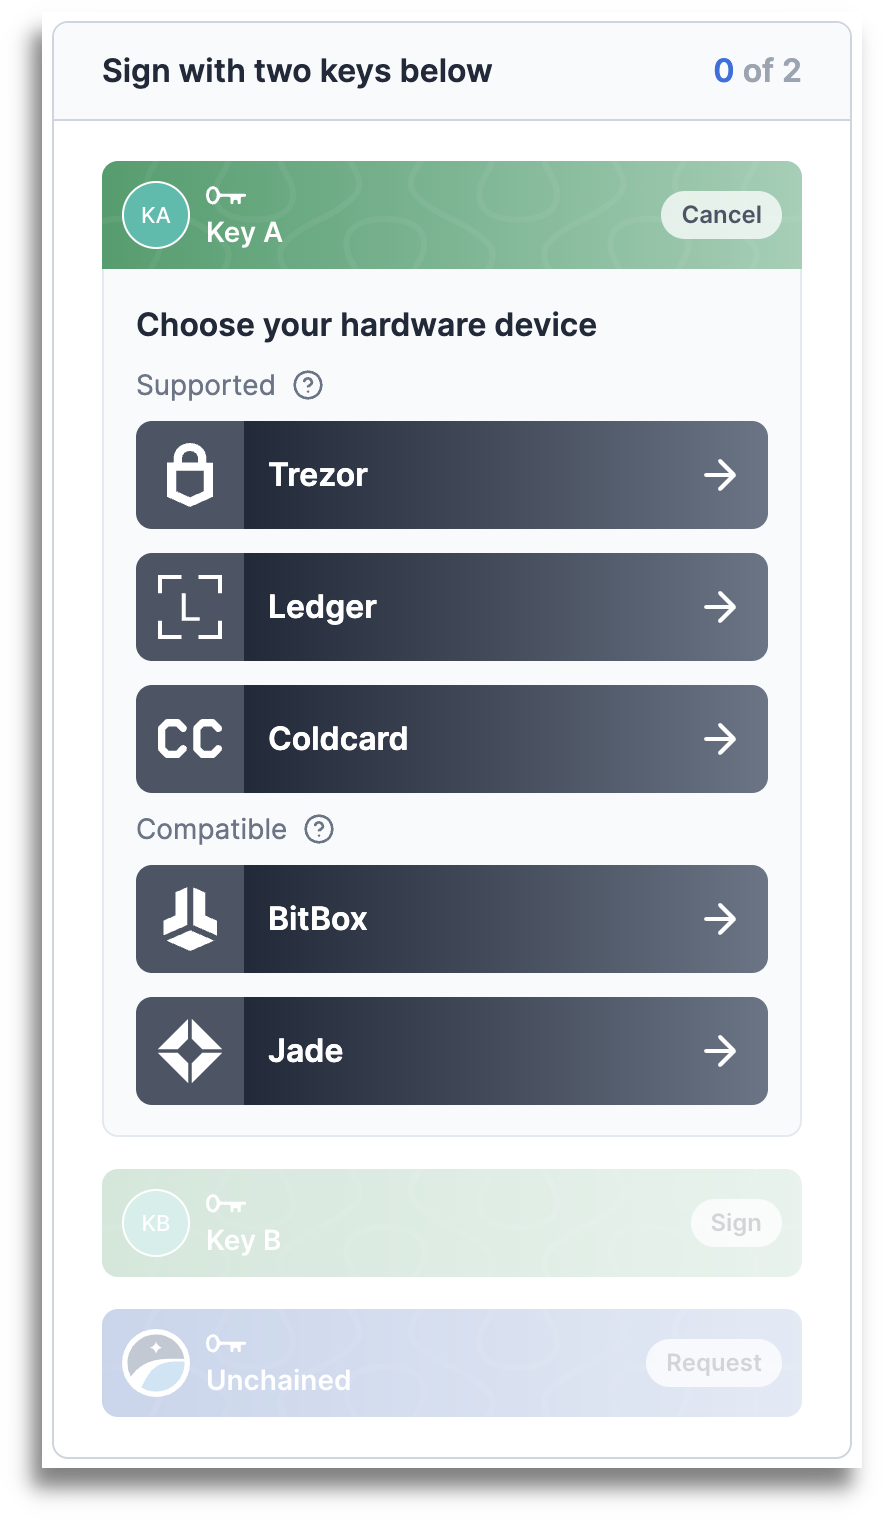
- Plug in and tap the side of your BitBox.
- In your Unchained account, select Sign with BitBox.
- Enter your BitBox password to unlock the device.
- Review and approve the transaction details on your BitBox.
- Your BitBox will show you the amount, destination address, fees, and change address if applicable. Compare this information with the transaction details shown in your Unchained account.
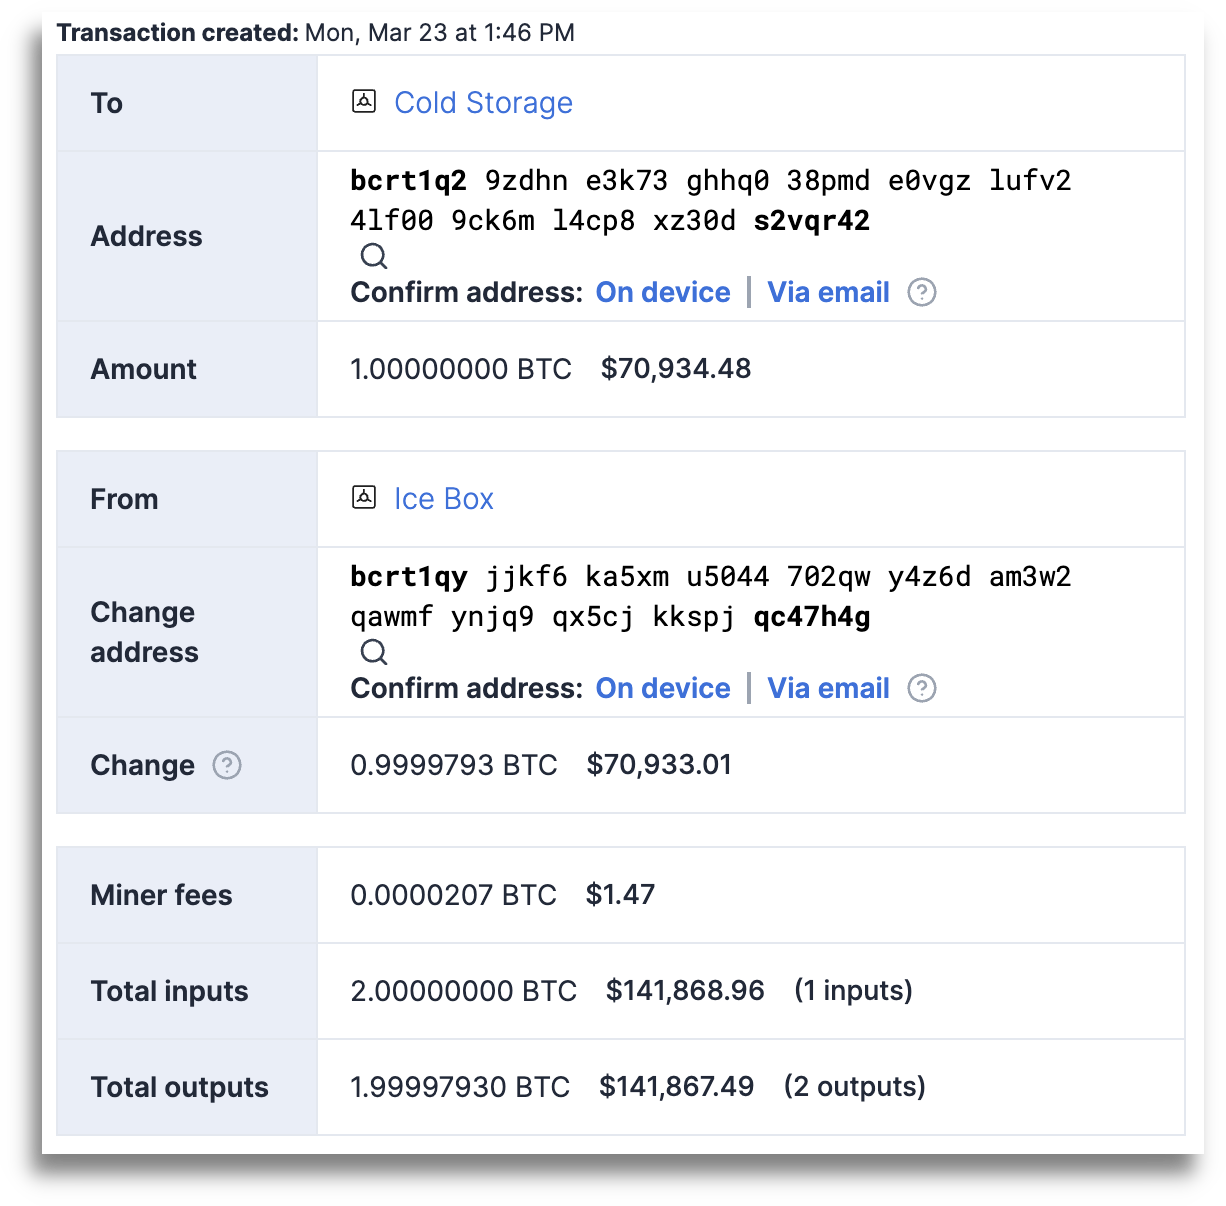
- On your BitBox, select the ▼ to sign the transaction.
- Success!
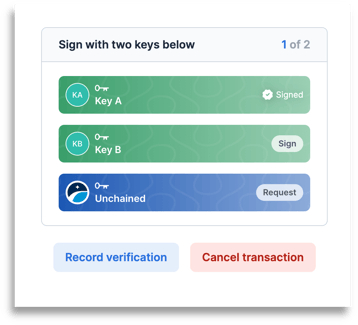
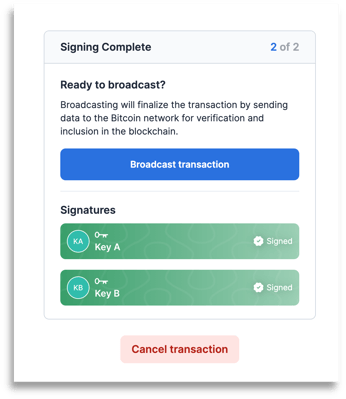
- Once the transaction has two signatures, click Broadcast transaction to send it to the bitcoin network. Upon broadcasting, the transaction will be irreversible.
Tip: If you’re actively experiencing signing issues, visit our troubleshooting guide to find a solution.